


The dust collector itself is only one part of an efficient dust collection system. An airtight and optimized ductwork layout is essential to maximize your shop's performance. Oneida Air Systems has put together a guide designed to provide a basic understanding of dust collection airflow and the components required to successfully complete an entire ductwork installation. Each section of this blog series will take you through the processes of preparing, assembling, and connecting your ductwork.
Once your order has been received and checked in, you are ready to begin assembling the main line of your ductwork layout.
What Is The Main Line?
The main line (sometimes referred to as the trunk line) is the primary segment of ductwork that is connected directly to the dust collector's inlet. It is typically a straight line of the largest diameter possible to minimize air resistance and static pressure loss. Components of the main line are designed with airflow performance in mind, featuring very gradual reductions and large radius turns to minimize changes in air pressure.
The main line can be composed of either:
- Snap-Lock Ductwork - standard components with raw or crimped ends that are inserted into one another and sealed with foil tape or silicone caulk with screws/rivets for additional security. Suitable for shops of any size.
- Quick-Clamp Ductwork - modular components feature rolled ends and are sealed together using quick-release, locking clamps. Very simple and easy to install and modify but with higher initial purchase costs.
- Spiral Pipe Ductwork - industrial components must be connected together using special couplers or using welded flanges. Very robust solution ideal for very long runs and permanent fixtures.
Where To Position Your Dust Collector
We recommend locating your dust collector as centrally as possible to all tools. Position your system closest to the machines with the highest airflow requirement (e.g. planers, jointers, drum sanders, etc.) - refer to your tool's owners manual for CFM requirements if necessary.
You'll want to keep all lengths of ductwork to a minimum so that you'll have more air available at your machine. When considering your design, bear in mind what obstructions the ductwork may run into when coming out from the collector (overhead lights, support posts, rafters, etc.).

Connecting Ductwork To Your Dust Collector’s Inlet
You'll want to create a smooth transition between the inlet and your new ductwork. This is especially important with cyclonic systems as the cyclone separates dust most efficiently when the incoming airstream has as little turbulence as possible.

A straight segment at the start of your main line ensures maximum airflow.

If turns are absolutely required, run 1 or 2 feet of straight pipe at the collector’s inlet to allow a smoother, less turbulent flow of air into the cyclone. Avoid turns at the inlet as this creates a “system effect” that will hurt airflow and separation efficiency.

If necessary, adjust the height of the inlet to ensure a straight line; the motor can be positioned between ceiling joists leaving 1" of free space for the motor’s ventilation. Extra length of flex hose may be required.
Most dust collection systems feature inlets designed to directly accommodate crimped ductwork fittings as the crimp should always be facing in the direction of airflow.
If you're using clamp together ductwork, however, you can use one of our Quick-Clamp Machine Adapters to make the inlet compatible with rolled end ducting. We recommend that the adapter be sealed in place with Foil Tape, but you can also drill sheet metal screws through both the adapter and the dust collector’s inlet for more secure connections.

Hanging Ductwork from the Ceiling
If the space in your shop allows for it, hanging ductwork from the ceiling is often the most convenient. It frees up floor space and there is typically plenty of room to angle directly over your tools (and thus shorten any overall ducting lengths).
Oneida Air Systems offers standard Hanger Strap or the Gripple Hang-Fast System for ceiling mounted ducting, but it is your responsibility to ensure the safety of all supported ducting. Be sure you check with local agencies to ensure that your ducting is supported in a way that meets local codes.


Use a stud finder to identify where you will install the ductwork hangers in your shop. It must mount to a reinforced position (e.g. studs, joists, etc.).

Then, mark a line parallel to the dust collector's inlet along the reinforced positions you've determined.

Plan to install ductwork hangers to support the pipe every 3-4 feet.

For the Gripple Hang-Fast system, refer to its included instruction sheet. For the Hanger Strap, read below.
Methods for Installing the Hanger Strap
There are two common methods for installing standard duct hanging strap on the ceiling. Which you use is up to you and largely depends on how you like to work and how your shop is setup. Some prefer the Loop Ahead of Time method since they can prepare and visualize how everything will come together. Some prefer the Loop As You Go method since their shop's layout may be a bit malleable and there might be lots of obstructions to work around.
Loop Ahead of Time Method
Use sheet metal snips to cut a length of Hanger Strap equal to 2x the circumference of the pipe you will be hanging, repeating for each pipe segment to be hung. Then secure the Hanger Strap by attaching to the wall/ceiling at each end of the strap, creating open half-loops. Feed your ductwork through each of these loops, connecting duct components together as you go.


Loop As You Go Method
Secure one end of the hanger strap to your wall/ceiling using appropriate fasteners. Raise your ductwork into place and grab the open end of the Hanger Strap, pulling it against the pipe and securing it to the wall/ceiling. Cut off the excess hanger strap and repeat as necessary to support the duct line.

What's Next?
At this point, your assembly process will be different depending on the type of ductwork you've chosen. Read about how to assemble Standard Ductwork here or read about how to assemble Quick-Clamp Ductwork here
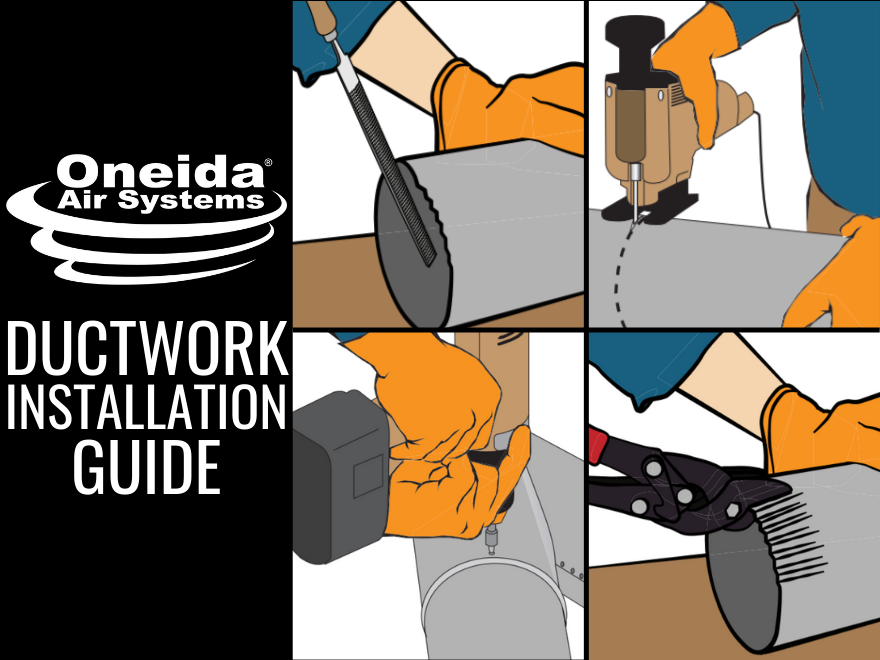
Looking for more help with your ductwork installation? All of our large ductwork orders and ductwork kits now include a copy of our complete Ductwork Installation Guide, which goes into detail on each step of the process.